


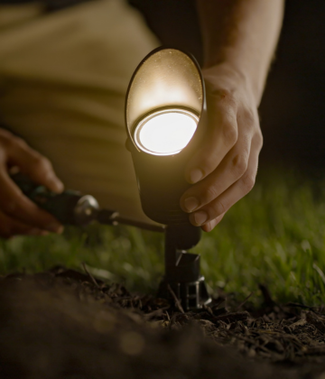
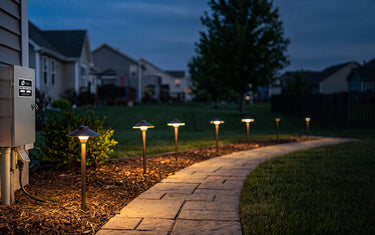
If the lights closest to your transformer look right but the ones at the end of the run look weak, you are seeing voltage drop. It is the most common low-voltage lighting problem on the planet, and it is almost always solvable without ripping the system out.
Here is what is happening, and how to read your system to find the fix.
The Short Version
Low-voltage landscape lighting runs on roughly 12 volts. Every fixture and every foot of wire consumes a small amount of that voltage along the way. By the time current reaches the last fixture, there may only be 9 or 10 volts left. LED bulbs designed for a 10.8-to-15-volt range will dim or stop working below that. Halogens will produce yellow, weak light long before they go fully dark.
The fix is to get more usable voltage to the far end. There are five reliable ways to do it.
1. Read What Is Leaving the Transformer
Open the transformer enclosure and find the voltage taps. Most multi-tap landscape lighting transformers offer 12V, 13V, 14V and 15V terminals plus a common terminal labeled COM. The common wire goes on COM. The hot wire goes on whichever tap delivers usable voltage across the full run.
With the lights on, set a multimeter to AC volts and touch the leads to COM and the tap your hot wire is on. You should see a reading close to the tap label, plus or minus about half a volt under load.
2. Read the Last Fixture
Walk to the fixture farthest from the transformer. Pull a wire connection apart, touch the meter leads to the lead wires inside the fixture, and read voltage with the system running. If you see less than 10.8 volts on an LED system, you have measurable voltage drop.
3. Move Up a Tap
The simplest fix is to move the hot wire from the 12V tap to the 13V or 14V tap. You are not boosting power; you are compensating for the loss in the wire run. Re-measure at the last fixture. The target is 10.8V to roughly 12V at every fixture in the run.
Do not exceed 15V at any fixture. Most LED landscape bulbs are rated for a 15V maximum; some are rated for 14V. Bulbs that see too much voltage will run hot and fail early.
4. Look at Wire Gauge and Run Length
Voltage drop on landscape lighting wire is a function of three things: amperage, wire gauge and run length. Heavier wire and shorter runs lose less voltage.
General guidance for 12-gauge low-voltage wire at modest amp loads:
- Under 100 feet of run: minimal drop in most cases
- 100 to 150 feet: noticeable drop, often correctable by moving up one tap
- Over 150 feet: significant drop, consider 10-gauge wire or a hub layout
If the existing wire is 16-gauge or thinner contractor wire and the run is long, the wire itself is your problem. Replacement is the long-term answer.
5. Rebalance the Load
If you have 200 watts of fixtures wired in a single long daisy chain, the fixtures at the back will struggle. Splitting that load into two runs from the transformer, each carrying roughly half the wattage, gives both runs more usable voltage.
Hub wiring is another approach. From the transformer, run a single heavier-gauge wire to a hub point near the middle of the layout. From the hub, run shorter, lighter spokes to small clusters of fixtures. Every fixture sees roughly the same voltage because none of them is far from a hub.
6. Check Connections and Corrosion
A corroded wire connection adds resistance. Resistance adds voltage drop. A connector that looks green, white or chalky is bleeding voltage even if the wire and transformer look fine.
Replace any compromised connector with a waterproof, gel-filled or silicone-filled connector rated for direct burial. The fix is cheap. The diagnosis is free. Skipping this step is what makes a half-day project into a full weekend.
Target Voltage at Each Fixture
- LED landscape bulb: 10.8V minimum, 14V to 15V maximum depending on bulb model
- Halogen MR16: roughly 11.5V minimum for full color, 12V ideal
- Older incandescent path light: roughly 10V minimum
Next Step
Measure first. If your transformer and tap are correct and the last fixture is still under-volted, the problem is wire gauge, a buried fault or a corroded splice. Pull suspect connectors, replace with waterproof connectors, and re-measure. If the system was professionally installed and you cannot find the issue, an outdoor lighting pro with a wire tracer can locate a buried break in under an hour.


